Using images in Figma and manipulating them is an essential skill anyone needs to master as it will elevate your design and graphic skills and give you so many ways you can create beautiful layouts and elements.
Cropping is one of the techniques used with images and in this tutorial, I will explain how to create crops in Figma in a very easy step-by-step way.
Let’s jump right in!
Check out this list of the best Figma Tutorials!
What is Cropping?
Cropping is the process of hiding one section of the image so you can only see the part you chose to be seen.
There are many ways you can crop an image, You can just crop it by shrinking its borders hence zooming into a certain area of the image, or you can crop using shapes like a circle, triangle, or whatever custom shape you have created.
Why We Crop?
Cropping is usually used when you want to concentrate or highlight one area of your image, but it can also have other uses:
- Create circular profile images
- Create Graphical design elements
- Highlight one area of your image
- Remove an area of your image that you want hidden
Crop an Image in Figma
Cropping an image in Figma can be done in several ways and I will divide mainly into 2 ways:
- Simple Crop
- Crop an Image Using Shapes
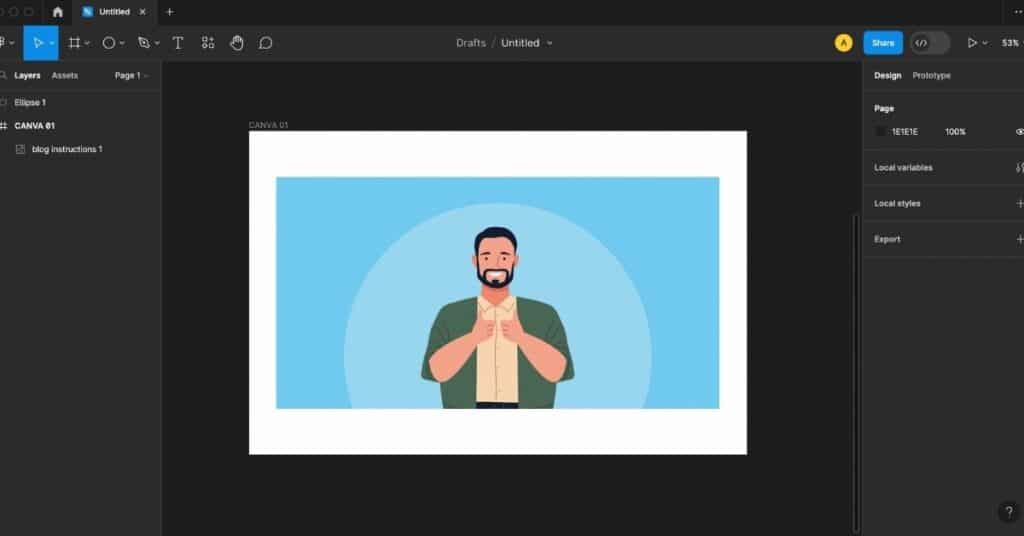
We will start by dragging and dropping the image below in Figma.

Simple Crop
Alright let’s start with the first method which is called “Simple Crop”, This method as the title implies is a very simple and straightforward way to crop an image in Figma.
To start using this method you only need to press and hold the “Ctrl” button on your keyboard, then click and click one of the right corners corners.

As you can see holding the Ctrl key on the keyboard made us us crop the image and not scale as it would have happened if we didn’t have the Ctrl button pressed!
Check out this tutorial to learn about Exporting in Figma!
How cool is that now let’s adjust the crop more to remove the left side as well.

and we are done, we just cropped the image in a way to concentrate the image only on the character and remove a chunk of the background.
Crop an Image Using Shapes in Figma
The second method gives us a bit more freedom in our crop so we are not just bound to the four corners of our image.
What if we want to crop this image following a circle, you know to make one of those circular profile images?
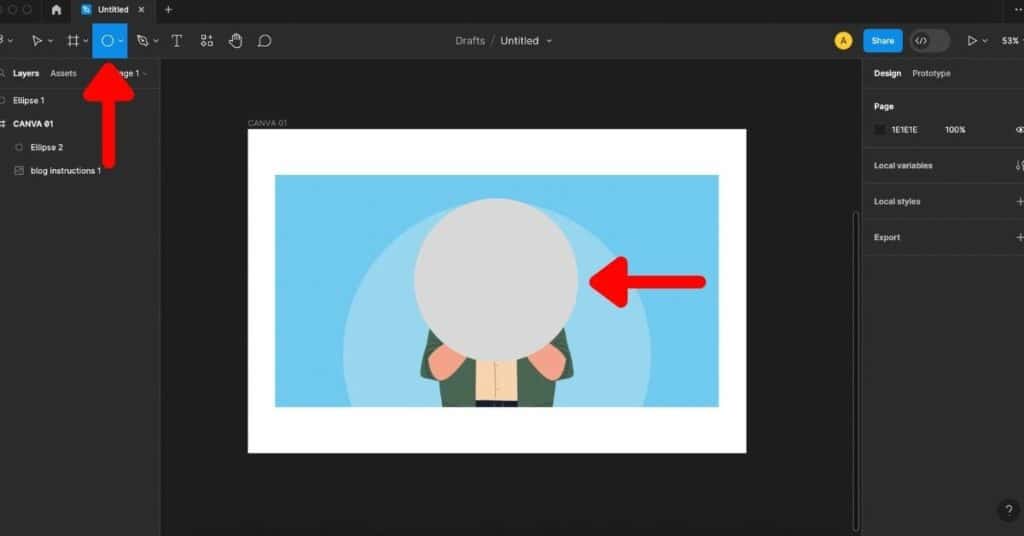
To do that let’s start by creating a circle by pressing “O” on the keyboard or using the top toolbar.
Remember these shortcuts when creating shapes, if you hold shift while drawing a shape it will make it Uniform and if you press space you can change where you want to place your shape.

Alright, now that we have our shape now it’s time to fix who is in front of what, to make the crop work the original image we have has to be in front of the shape we want to crop with.
To do that you either right-click on the circle and click “Send to Back“.

Or a way I use that helps me understand more how the elements in my file are ordered and that is using the layers toolbar on the left, I just select the Ellipse and drap it down UNDER the image (lots of people forget this step).

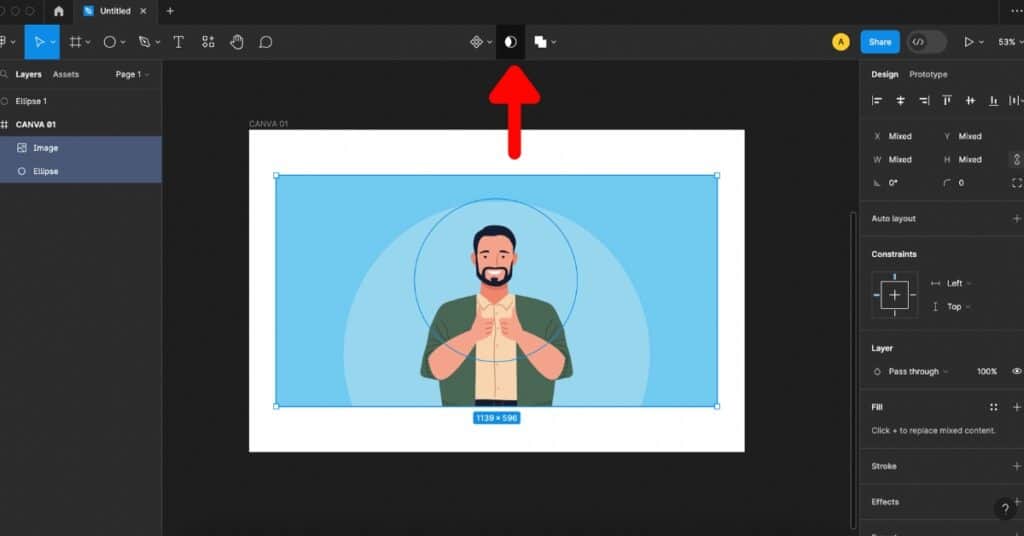
Alright and now for the final step, we select both the image and the circle clicking and dragging over both of them and clicking the bottom in the top right in the center “Use as mask”.

once we click on that button we get the result we were after.

Conclusion
As you saw cropping is an essential technique to manipulate images in Figma and it is super easy to do, all you need to remember for a simple crop use the Ctrl shortcut.
If you want a more complex crop using shapes then we can use the “Use as mask” but remember to have the shape behind the image and have them both selected.
Hope you enjoyed this tutorial!
Check out this article about some awesome Figma Plugins that would make your workflow much faster.