Let’s learn about one of the best tools in Adobe Illustrator.
As a logo designer and an illustrator, the Shape Builder tool has been a hero throughout my career. This powerful and versatile tool will let you merge, extract, and erase shapes in your designs.
Added to Illustrator CS5, this tool has become an indispensable option for me in all my creations. In fact, I sometimes visualize the artwork around it. Instead of drawing uneven lines and struggling with anchor points, the Shape Builder tool will let you combine different shapes to create new ones. It’s a game-changer!
In this tutorial, I will show you different ways to use the Shape Builder tool.
There are 4 main ways to use the Shape Builder tool. It is essential to learn the fundamentals of this tool to speed up your work with the added bonus of creating beautiful shapes.
Get Started Learning Adobe Illustrator Today! – Link Here
Where is the Shape Builder tool?
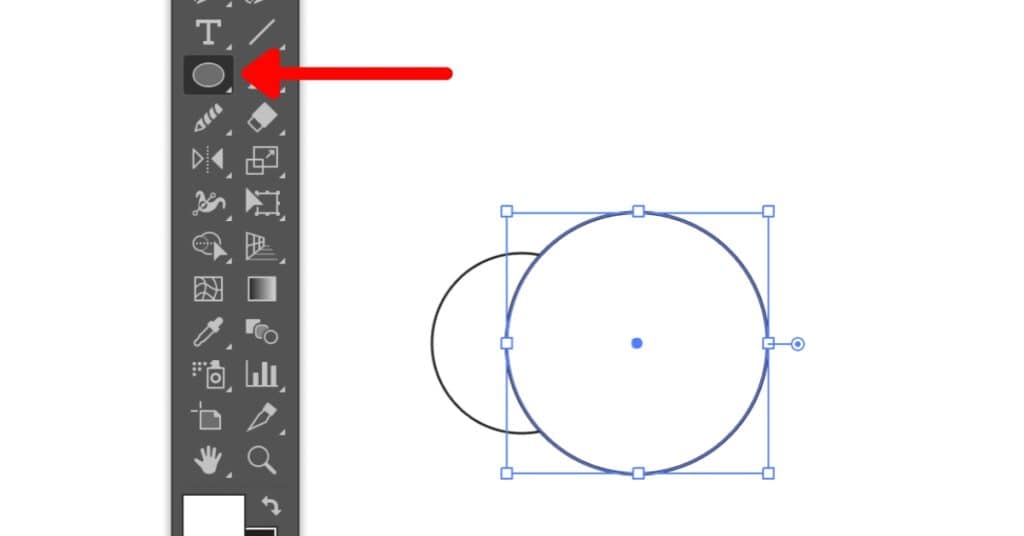
Nested together with the Paint Bucket tool and the Live Paint Selection Tool in the side toolbar, a much faster way to get to it is through Shift+M.

Start by opening a fresh document in Adobe Illustrator and selecting your preferred size document. There aren’t any specific document size values for this practice tutorial.
How to use the Shape Builder tool?
1. Merging Multiple Shapes
Let’s create some shapes. The shapes must be overlapping.
Here are some overlapping circles using the Ellipse tool (L). Remember to hold the Shift key to draw a perfect circle.

Select the two overlapping circles. Select the Shape Builder tool (Shift+M).
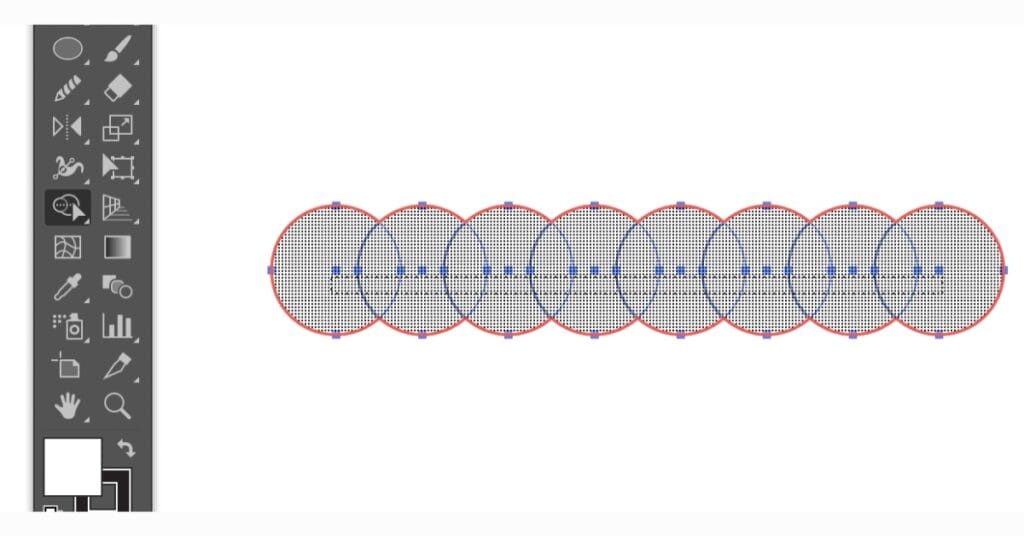
Click and drag. You will see the shapes are turning grey as you hover over them with your mouse. A plus sign on your pointer indicates that you are merging the shapes.

There you go, two merged circles. You can now treat this combined shape as a defined shape. You can color it or change its stroke.

You can do this with multiple overlapping circles.

2. Erasing Shapes
With the Shape Builder tool, you can do the opposite of merging. Extracting shapes will allow you to remove anything you don’t want to include in your design. With the Rectangle tool (M), create two squares (hold down the Shift button to create a perfect square).

In the same way, you combined two shapes earlier, select the two overlapping squares. Activate the Shape Builder tool (Shift+M).
Check out this tutorial to learn How to Remove Backgrounds in Adobe Illustrator.
But now, click on the area you want to erase while holding down the Alt/Option key. Magic! The unwanted shape is no longer visible.

Now, you have two separate entities to move around as you please. You can also color and change the strokes.

3. Extracting shapes
With the Shape Builder tool, you can do the opposite of merging. Let’s say you want to extract the greyed-out shape in the middle of 2 circles. The Shape Builder tool will allow you to extract the intersection of the two circles in no time or little effort.

Select the 2 circles, and with the Shape Builder tool (Shift+M), simply click on the region you would like to extract. Now with the Selection tool (V), click on the shape and drag it anywhere on your artboard. You have created a brand new shape.

3. Cleaning Up Lines
Indeed, the Shape Builder tool works best with shapes, but there is one way to use this tool. I bet you did not know that this incredible tool works on strokes, too. Sometimes when I draw intricate illustrations in Adobe Illustrator, my artwork looks like a messy sketch with overlapping lines. It happens when you’re free drawing.
As much as you would like to grab a real-life eraser and erase these edges on your screen, the Shape Builder will come in handy the same way. Trim the paths that you want to be deleted.

As you can see there are overlapping strokes on this basketball icon that I drew.
Select all, and activate the tool. With the Alt/Option key on your keyboard press down, and hover over the lines that you want to delete. The strokes will turn red with a minus sign next to your pointer. Et voila! A perfectly clean artwork.

You can now be as creative as you want. Use the Live Paint tool to add colors to your artwork.


What an awesome tool!
With the Shape Builder tool, you can merge, extract and clean up at the same time. Keep your Alt/Option key close by and you’ll be able to alternate like it’s second nature to you. Remember the shapes must overlap.
Try it yourself!
Learn how to use the Live Pain Bucket Tool in Illustrator.