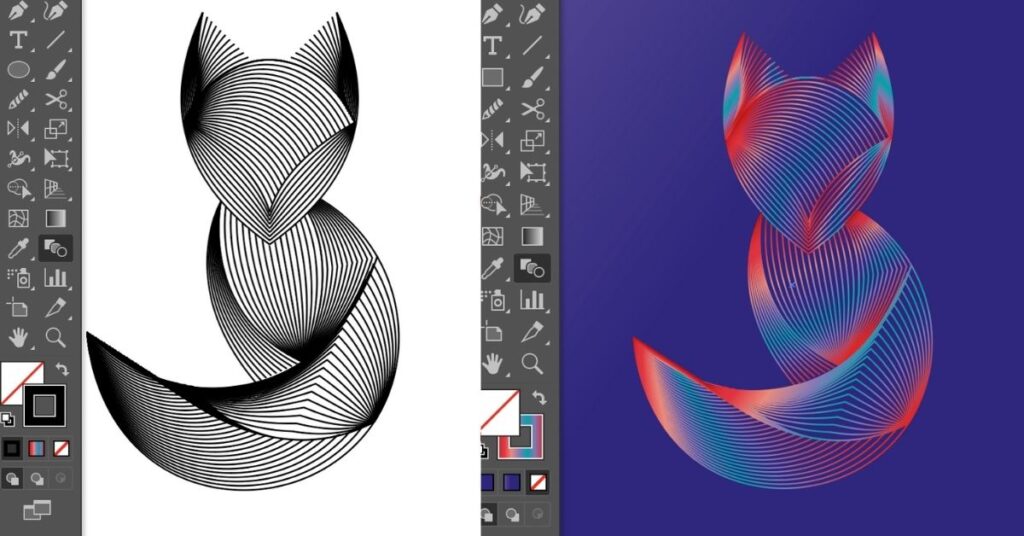
Let’s learn about another awesome tool in Adobe Illustrator: the Blend tool.
There are many ways to use the Blend tool. It is one of the most useful tools in Adobe Illustrator. Whether you need to create a color palette to help your designs or add a cool effect to your texts, the Blend tool is a quick and easy way to turn basic designs into professional artwork.
In this tutorial, I will show you different ways to use the Blend tool. Let’s start.
Check out this list of the Top Drawing Programs for Huion Tablets.
Where is the Blend tool?
You can access the Blend tool from the overhead menu or the toolbar. Both are great ways to control the final look.
A much faster way to get to it is through hitting W on your keyboard. Follow this with a few more steps to get the desired result.

Start by opening a fresh document in Adobe Illustrator and selecting your preferred size document. There aren’t any specific document size values for this practice tutorial.
How to use the Blend tool?
1: Color palette
Let’s create two squares with the Rectangle tool (M). This is one way to add a nuanced color combination to your artwork.

Fill your squares with two colors for each. Now, extract the hidden colors (steps) in between these two colors.
In the Blend Option (click on the Blend tool in the toolbar) or from the overhead menu, go to Object > Blend > Make. You will need to have selected both squares. For spacing, select Specified Steps.
The number of steps will be the colors you want in your palette, excluding the two colors you chose (shown in the screenshot).

As mentioned before, select Specified Steps to get the number of colors you want.

Click on the Blend tool from the toolbar, change the spacing to Specified Steps, and write down the number of colors. I chose four more colors.

You can create as many color palettes as you wish. Your designs will have so much depth and look more professional.

Be creative with your designs!

2: Adding a cool effect to your backgrounds
The most popular way of using the Blend tool is creating line artwork.
In this next section, we will draw multiple lines between 2 initial lines/curves. This method adds a cool effect to your drawings.
With the pen tool (P), create two separate curved lines.
Change the stroke value. Make one stroke wider than the other.
You can play with the values and choose what fits best. Create the lines in two different colors.

Select both lines and go to Object > Blend > Make, from the overhead menu.

See the magic happen! Look at this result.


3: Replace spine
There is one more way of using the Blend tool. Let’s say you have two shapes, and you want to blend them using a specific path.
Follow the same steps in the previous sections of this tutorial, and draw two circles using the Ellipse tool (L). Hold down the Shift key to get a perfect circle. Add a gradient.
Have you ever wondered what is the Top Vector Graphics Software for Mac? Read this article to find out!
Using the Pen tool (P), draw a curved line.


After you use the Blend tool on the two circles, select both element and line. Go to Object > Blend > Replace Spine.

Here you go! You have applied the Blend on the curved line.

You can now be as creative as you want. Use the Swatch Libraries to add colors to your artwork.

What an awesome tool!
Use gradients to add colors to your artwork. Play more colors. The Blend tool is the perfect tool to create cool line artwork.
Related Article: How to Wrap Text in Illustrator